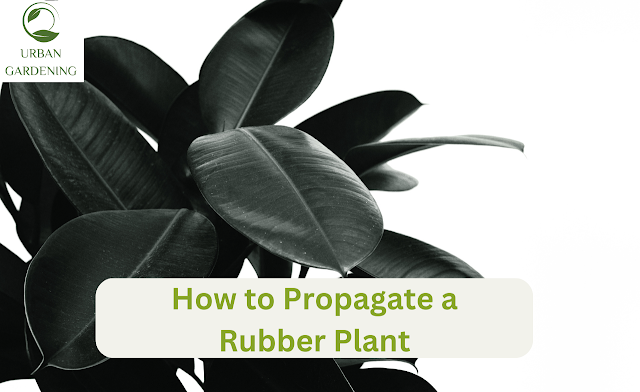
How to Propagate Rubber Plant: A Comprehensive Guide
How to Propagate a Rubber Plant: A Comprehensive Guide
Rubber plants, scientifically known as Ficus elastica, are popular houseplants known for their attractive foliage and air-purifying qualities. Propagating rubber plants is a rewarding and cost-effective way to expand your collection or share the beauty of these plants with others. In this blog post, we will guide you through the process of propagating rubber plants successfully.
1. Understanding Rubber Plant Propagation
Rubber plants can be propagated through stem cuttings, which involve taking a portion of the plant and encouraging it to grow roots. This process allows you to create new plants that are genetically identical to the parent plant. Before diving into the propagation methods, gather the following materials.
2. Gathering the Necessary Materials
To propagate a rubber plant, you will need:
Sharp and sterile pruning shears
A healthy and mature rubber plant
A clean container or vase
High-quality potting soil or a glass of water (depending on the chosen propagation method)
Rooting hormone (optional but recommended for faster root development)
3. Propagation Methods
There are two common methods for propagating rubber plants: water propagation and soil propagation. Choose the Rubber plant propagation method that you can do with the available resources.
Water Propagation
Select a healthy stem: Look for a mature rubber plant stem with at least three sets of leaves. Avoid stems that are too young or too woody.
Cut the stem: Using sharp pruning shears, make a clean cut just below a leaf node. Leaf nodes are the points where leaves emerge from the stem.
Prepare the cutting: Remove the lower leaves, leaving only the topmost leaf cluster intact. This prevents the Rubber plant leaves from rotting in the water.
Place the cutting in water: Fill a clean container or vase with water and place the cutting in it, ensuring that the leaf node is submerged. Keep the container in a well-lit area, away from direct sunlight.
Monitor and replace water: Check the water level regularly and replace it every few days to prevent stagnation and the growth of harmful bacteria. Within a few weeks, you should notice roots beginning to develop.
Transfer to soil: Once the roots are about an inch long, carefully transfer the cutting into a pot filled with well-draining potting soil. Add Water to the soil slowly and place the Rubber plant pot in a warm and bright location like balcony or outdoor.
Soil Propagation
Prepare the stem cutting: Follow the same steps as mentioned in water propagation to obtain a healthy stem cutting.
Apply rooting hormone Powder (optional): It's completely optional to use. Take the rooting hormone powder and dip the end of the Rubber Plant cutting to encourage faster root development. Gently tap off any excess powder.
Plant the cutting: Fill a clean pot with well-draining potting soil. Make a small hole in the soil using your finger or a pencil and place the cutting into it. Gently press the soil around the Rubber plant cutting to make it secure.
Create a mini-greenhouse: Cover the pot with a clear plastic bag or place it in a propagator to create a humid environment. This helps retain moisture and promotes root growth.
Provide optimal conditions: Place the pot in a warm and well-lit area, but away from direct sunlight. Maintain a consistent level of moisture in the soil by lightly watering when needed.
4. Caring for Newly Propagated Rubber Plants
After successful propagation, it's crucial to provide proper care for the newly propagated rubber plants. Here are some essential care tips:
- Place the plants in a bright location with indirect sunlight.
- Water the plants when the top inch of soil feels dry, but avoid overwatering.
- Maintain a moderate level of humidity around the plants by misting the leaves occasionally.
- Fertilize the plants with a balanced houseplant fertilizer according to the package instructions.
5. Troubleshooting Common Issues
While propagating rubber plants, you may encounter a few challenges. Here are some common issues while propagating Rubber plant and their solutions:
Yellowing leaves: This can indicate overwatering. Allow the soil to get completly dry before watering.
Root rot: Overwatering or poorly-draining soil can lead to root rot. Ensure the soil is well-drained and schedule water accordingly.
Lack of root development: If you don't see roots forming after several weeks, check the stem cutting for signs of rot or decay. Consider taking a new cutting and adjusting the propagation method.
6. Conclusion
Congratulations! You are now equipped with the knowledge to propagate rubber plants successfully. Whether you choose water propagation or soil propagation, following these steps will increase your chances of creating healthy and thriving plants. Remember to provide proper care for your newly propagated rubber plants and enjoy the satisfaction of growing new green life in your home.
Don't forget to share this blog post with your fellow plant enthusiasts! If you're interested in learning more about web technology, gaming, and the latest tech trends.
Happy propagating!
Read Next Blog:


Comments
Post a Comment